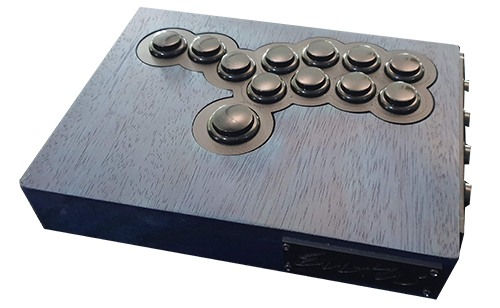
I had picked up a hand-made hit box a while ago to add to my small collection of arcade sticks. The hitbox was fairly cheap which was an important factor as I still wasn’t entirely sure I’d like the control method. My particular one was sold by a fellow on Etsy (I can no longer find his store but it was called “Enth” to give credit) and while I liked it very much I felt a number of issues could be solved relatively easily – especially with a handy 3d printer I now have available.

Along with making the edges of the new controller smoother I also wanted easy access to the internals and to mix it up a bit and have both buttons and stick available for movements. I’ve seen various types (like the cross up) but I wanted to be able to use both simultaneously or individually depending on the game (e.g. stick for Super Meat Boy, buttons for Guilty Gear or both for Street Fighter). I expected this would have been done previously so went to Thingiverse and a few other sites thinking I’d simply download a model, adjust and print. What followed was a rather long unfruitful search and even a negative comment telling another fellow looking for something similar that this sort of device doesn’t exist as it would be too cramped for the internal components and probably uncomfortable to use. Sounds like a challenge.
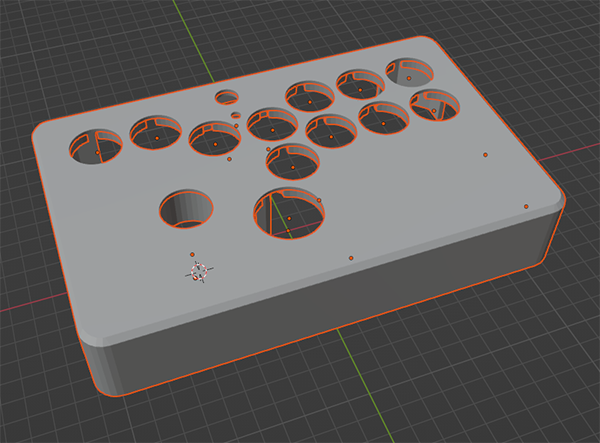
I quickly sketched out a rough then opened up Blender. Normally this would give me a bit of anxiety but the program has hit version 3 and become easier to use (I think it actually became easier at v2.9 but I’m not too sure). It still requires a lot of getting used to but I honestly don’t think there is a comparable bit a software – especially when factoring in its price.

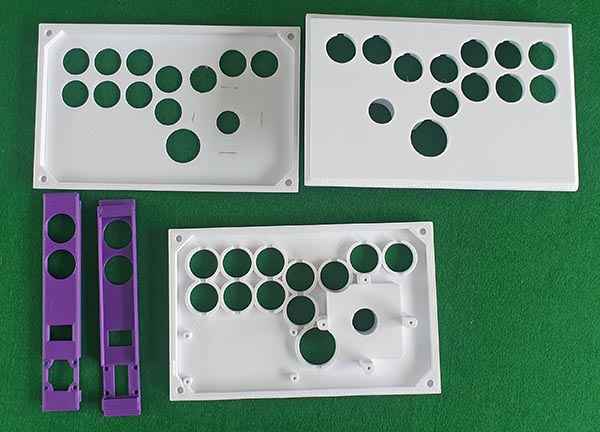
The first print was a simple face with just holes for buttons. This helped ensure that the tolerances were good enough and to try to reduce the number of times I’d need to print the full model. That was the plan but I still ended up printing the top and side parts a number of times, running out of white PLA in the process, slowly massaging the design into something workable.

Watching some YouTube channels on design and 3d printing (among other things) I’d almost begun to think that the presenters were god like in their ability to have an idea then model and print it perfectly. Getting my own ideas into a semi-working physical form felt slow and cumbersome in comparison. Often ending in a failure that required an entirely new solution. It was great to see a CNC Kitchen video where he went through his whole process and actually showed the failures and iterations required until he was happy with the product (The video is here).
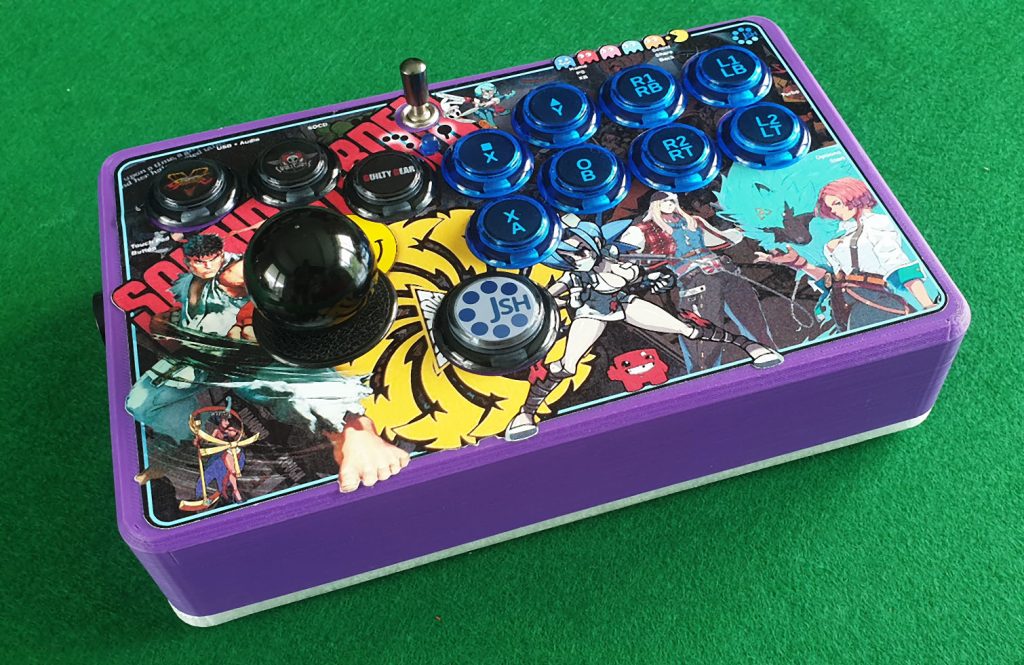
With the last print I was able to install all the components.
- Brooks Fighting Board (stripped from the hand made hitbox)
- Sanwa Buttons (bought to replace the cheap Chinese knock offs on the hand made hitbox)
- Arcade stick stripped from an old Hori fighting Stick Mini
- Some of the Chinese knock off buttons for unimportant functions (Menu, Back, etc)
- Guitar switch (3 way) for the selector
- Wires and connectors
- LED’s (Optional but I wired up the Turbo button and threw some internal lights to make the box glow a bit)
- PLA for the Top and Sides (about 200 grams)
- TPU for the base (about 90 grams)
- Vinyl Sticker for the front (Super garish art to go with some nasty leftover purple PLA
)

Complete STL’s and Blender file can be found here (Download) or from Thingiverse if you prefer. Please note that I have only dabbled in Blender so expect some errors (ngons, etc). As is de rigueur these days it’s all provided under a Creative Commons (CC BY-NC) license.
Version 2 adjustments
I’ve no plan to start a version 2 just yet but thought I’d make a list of some of the things I’d consider changing should I feel like revisiting this project.
- It’s personal preference (and hand size) but I think having the stick a little further out won’t inhibit the use of the buttons and allow for better use.
- Change the stick used to a generic one that is easier to find (Most folks probably don’t have an old Hori kicking around)
- The base requires some extra screws to hold it better in place along the middle edges
